Commanda General Store
JR Models - HO Scale
My good friend, Professor David Gardner pulled an old relic of a kit off his shelf for me to build for him.
I was eager to get started as I love to resurrect older style craftsman kits from long ago.

As mentioned above, this elegant general store was a craftsman kit brought out many decades ago by John Rendall, a Canadian kit manufacturer.

Coming out sometime in the late 1980's or early 1990's, as with most craftsman kit offerings from that time period, this kit offered Spartan instructions.

While the kit did not come with much of the ornate "fixings" found on the real structure...sufficient detailing was offered to make a nice looking model.
.jpg)
Indeed, this is a show-stopper of a building!
.jpg)
The black and white photograph located on the kit box.
.jpg)
A peek inside the box.

The largest section of walls that came in the kit did not cover the entirety of the front wall.

This meant a small section of the peak had to be added, braced and glued in place.

While kit instructions were "minimal" at best, the templates were very good and the wall sections could be built atop them.

Time to add the window and door openings.

I placed the paper template over top the wall section and used a pin to demark the corners of the windows and door openings.

I determined "Parchment" as a nice "off-white" colour tone for the walls and a sage green for the windows, doors and trim.

The front wall.

All walls were suitably braced before assembly.
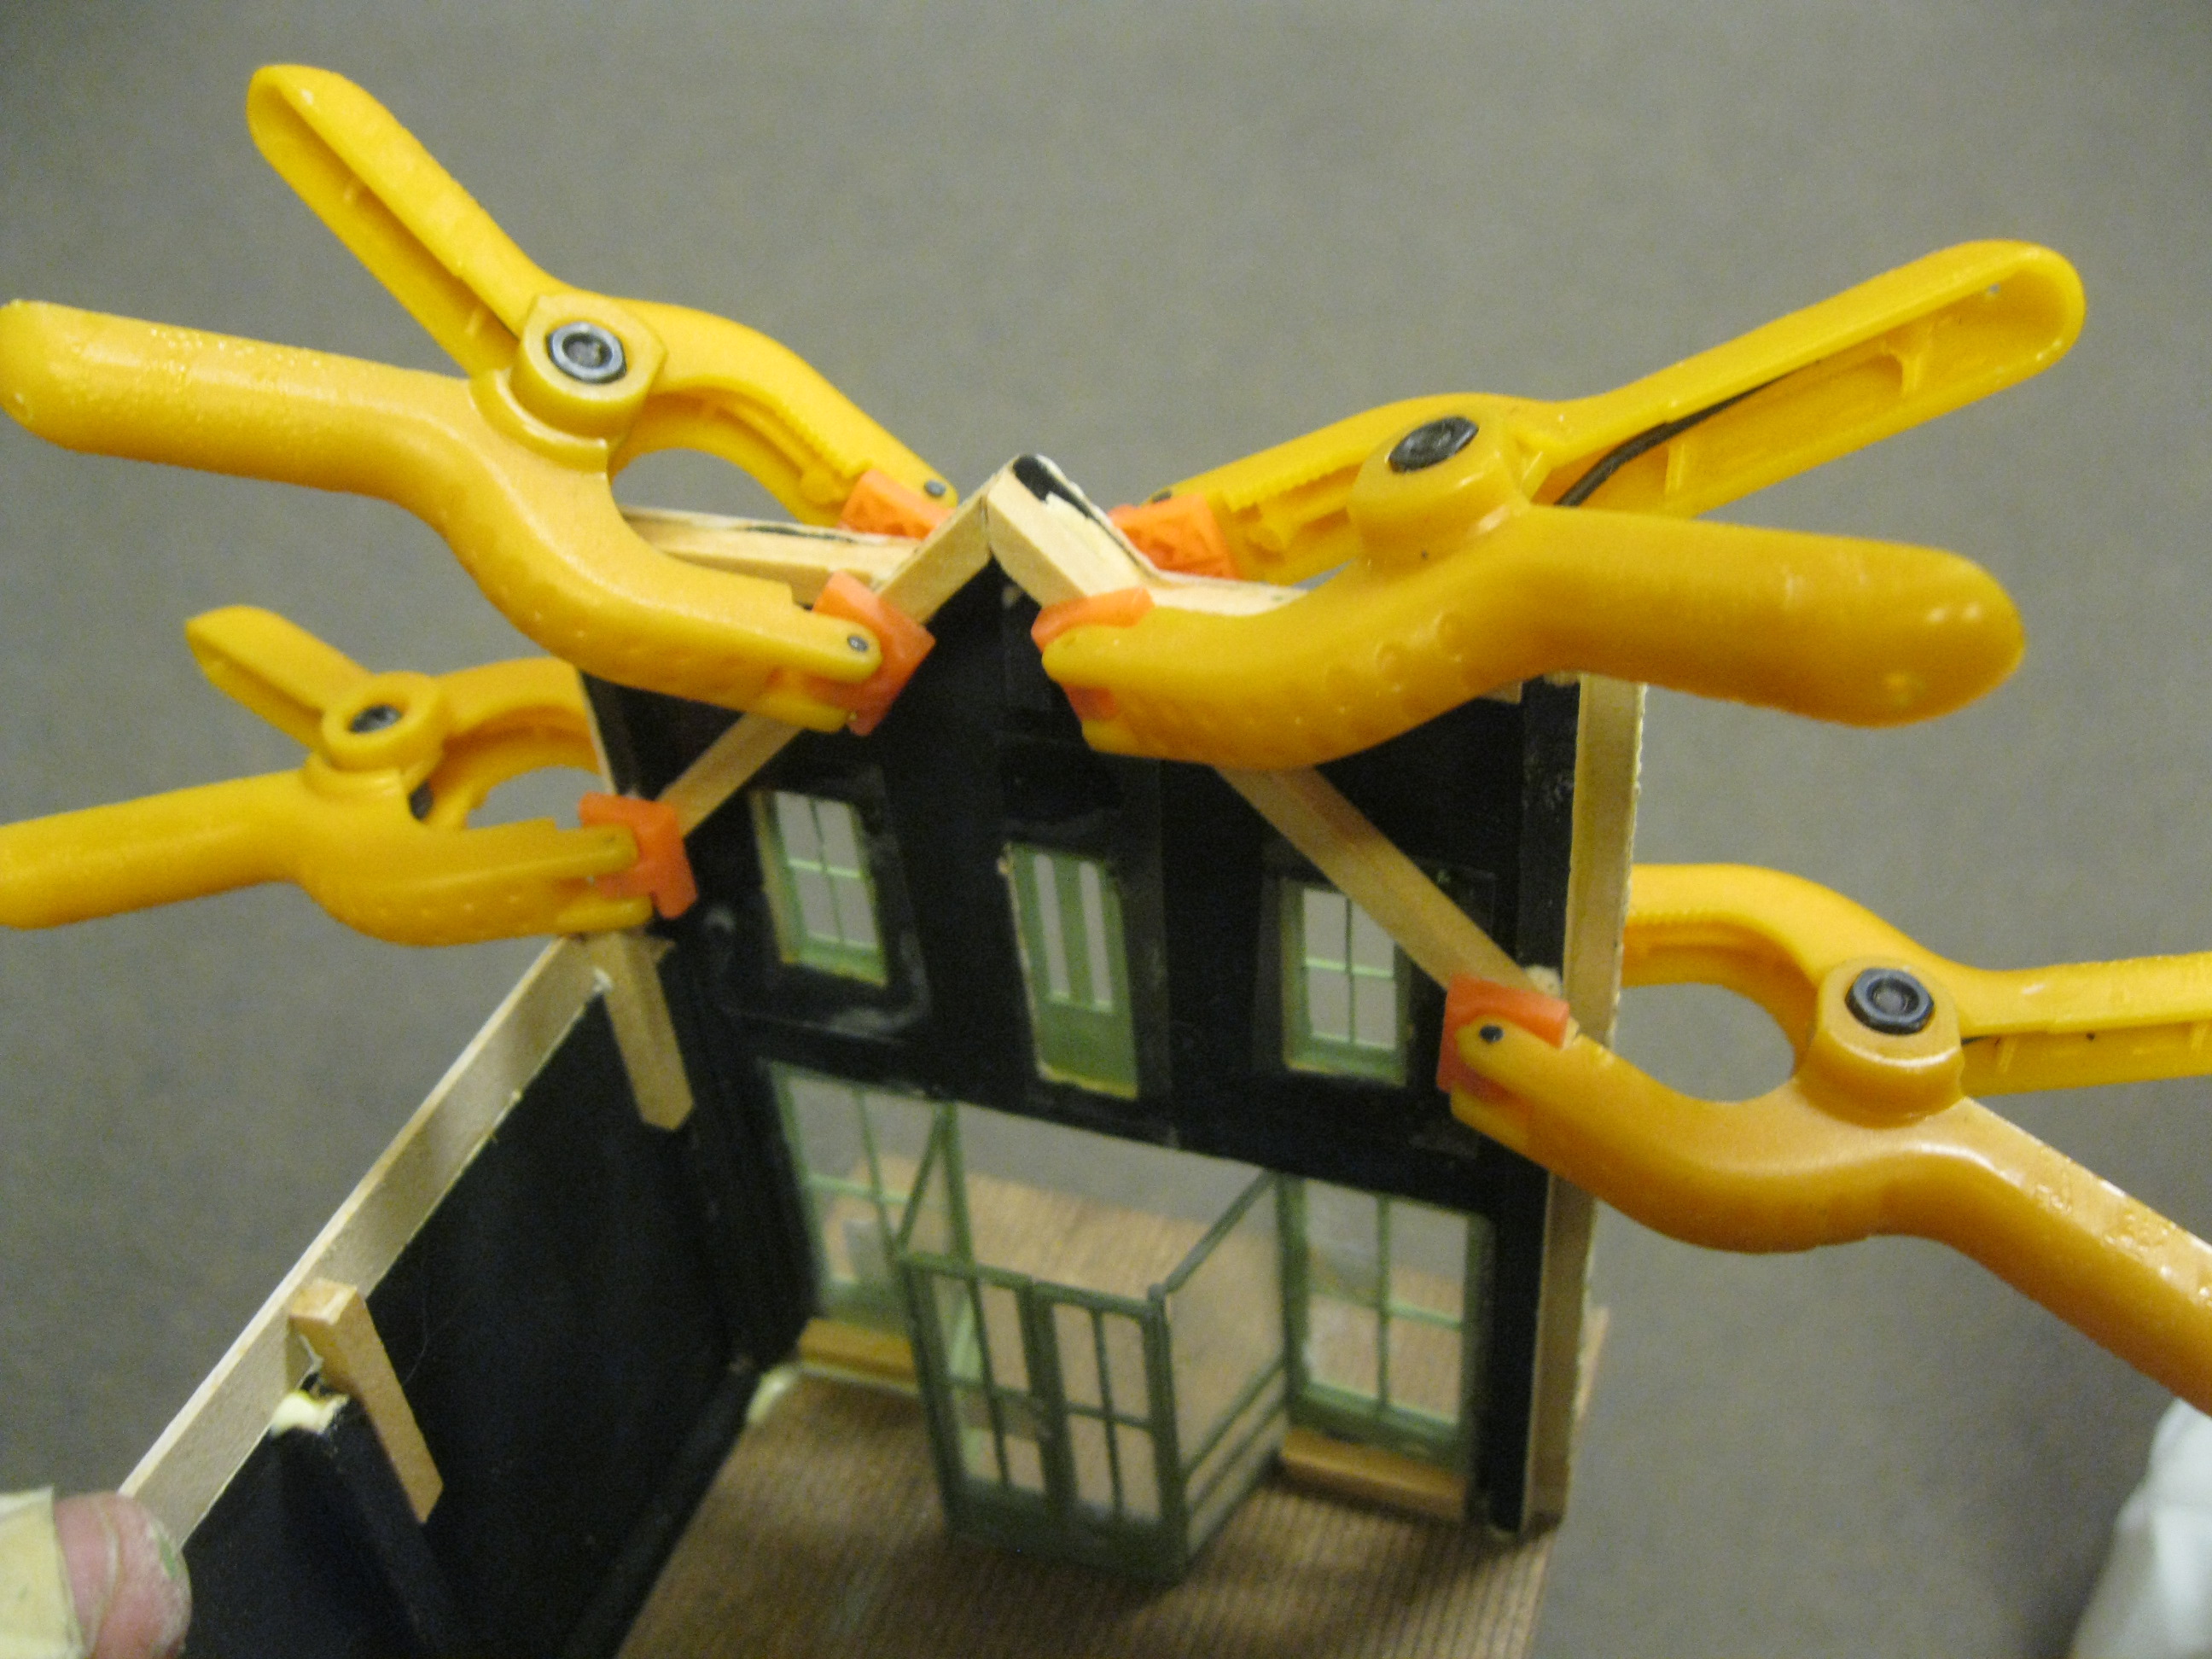
Tiny clamps like these can be purchased at your local hardware store.

They come in handy in keeping parts together while glue sets. The band-aid protects and X-acto knife but...d'uh!

The interior recessed entry way takes shape.

The back section where a full wall will not be necessary as an addition will work its way to the left out from the main building at this juncture.

A few signs in the window add some detail.

The upper door and windows.

The roof section...somewhat oversized.

Time to construct the balcony.

The elegant detailing that was offered in the kit goes in place.

A handful of little people and details bring the general store to life as does the addition of the side room.

An elegant trim goes in place.

The upper balcony floor.

To create the roof of the upper balcony and the supports I have turned this section "upside down" to determine accuracy of size with the lower balcony floor.

My trusty weights come in handy.

Coming along nicely. I recessed the side room slightly to add a nice element of depth. Its front wall was supposed to line up with the front wall of the main building...but I creatively thought otherwise! Hehehe!

Under incandescent lighting.

The balcony roof supports appear.

The balcony roof is now in place.

A Louis Armstrong poster sign adds a little detail to the side wall.

The roof has its vent.

The large sign to the left adds a nice element as well.

Coming along.

Hello there Louis!

A three-quarter view.

Along with a few other recently completed structures!

As brought out to an NMRA meet.

Along with other structures I have made.
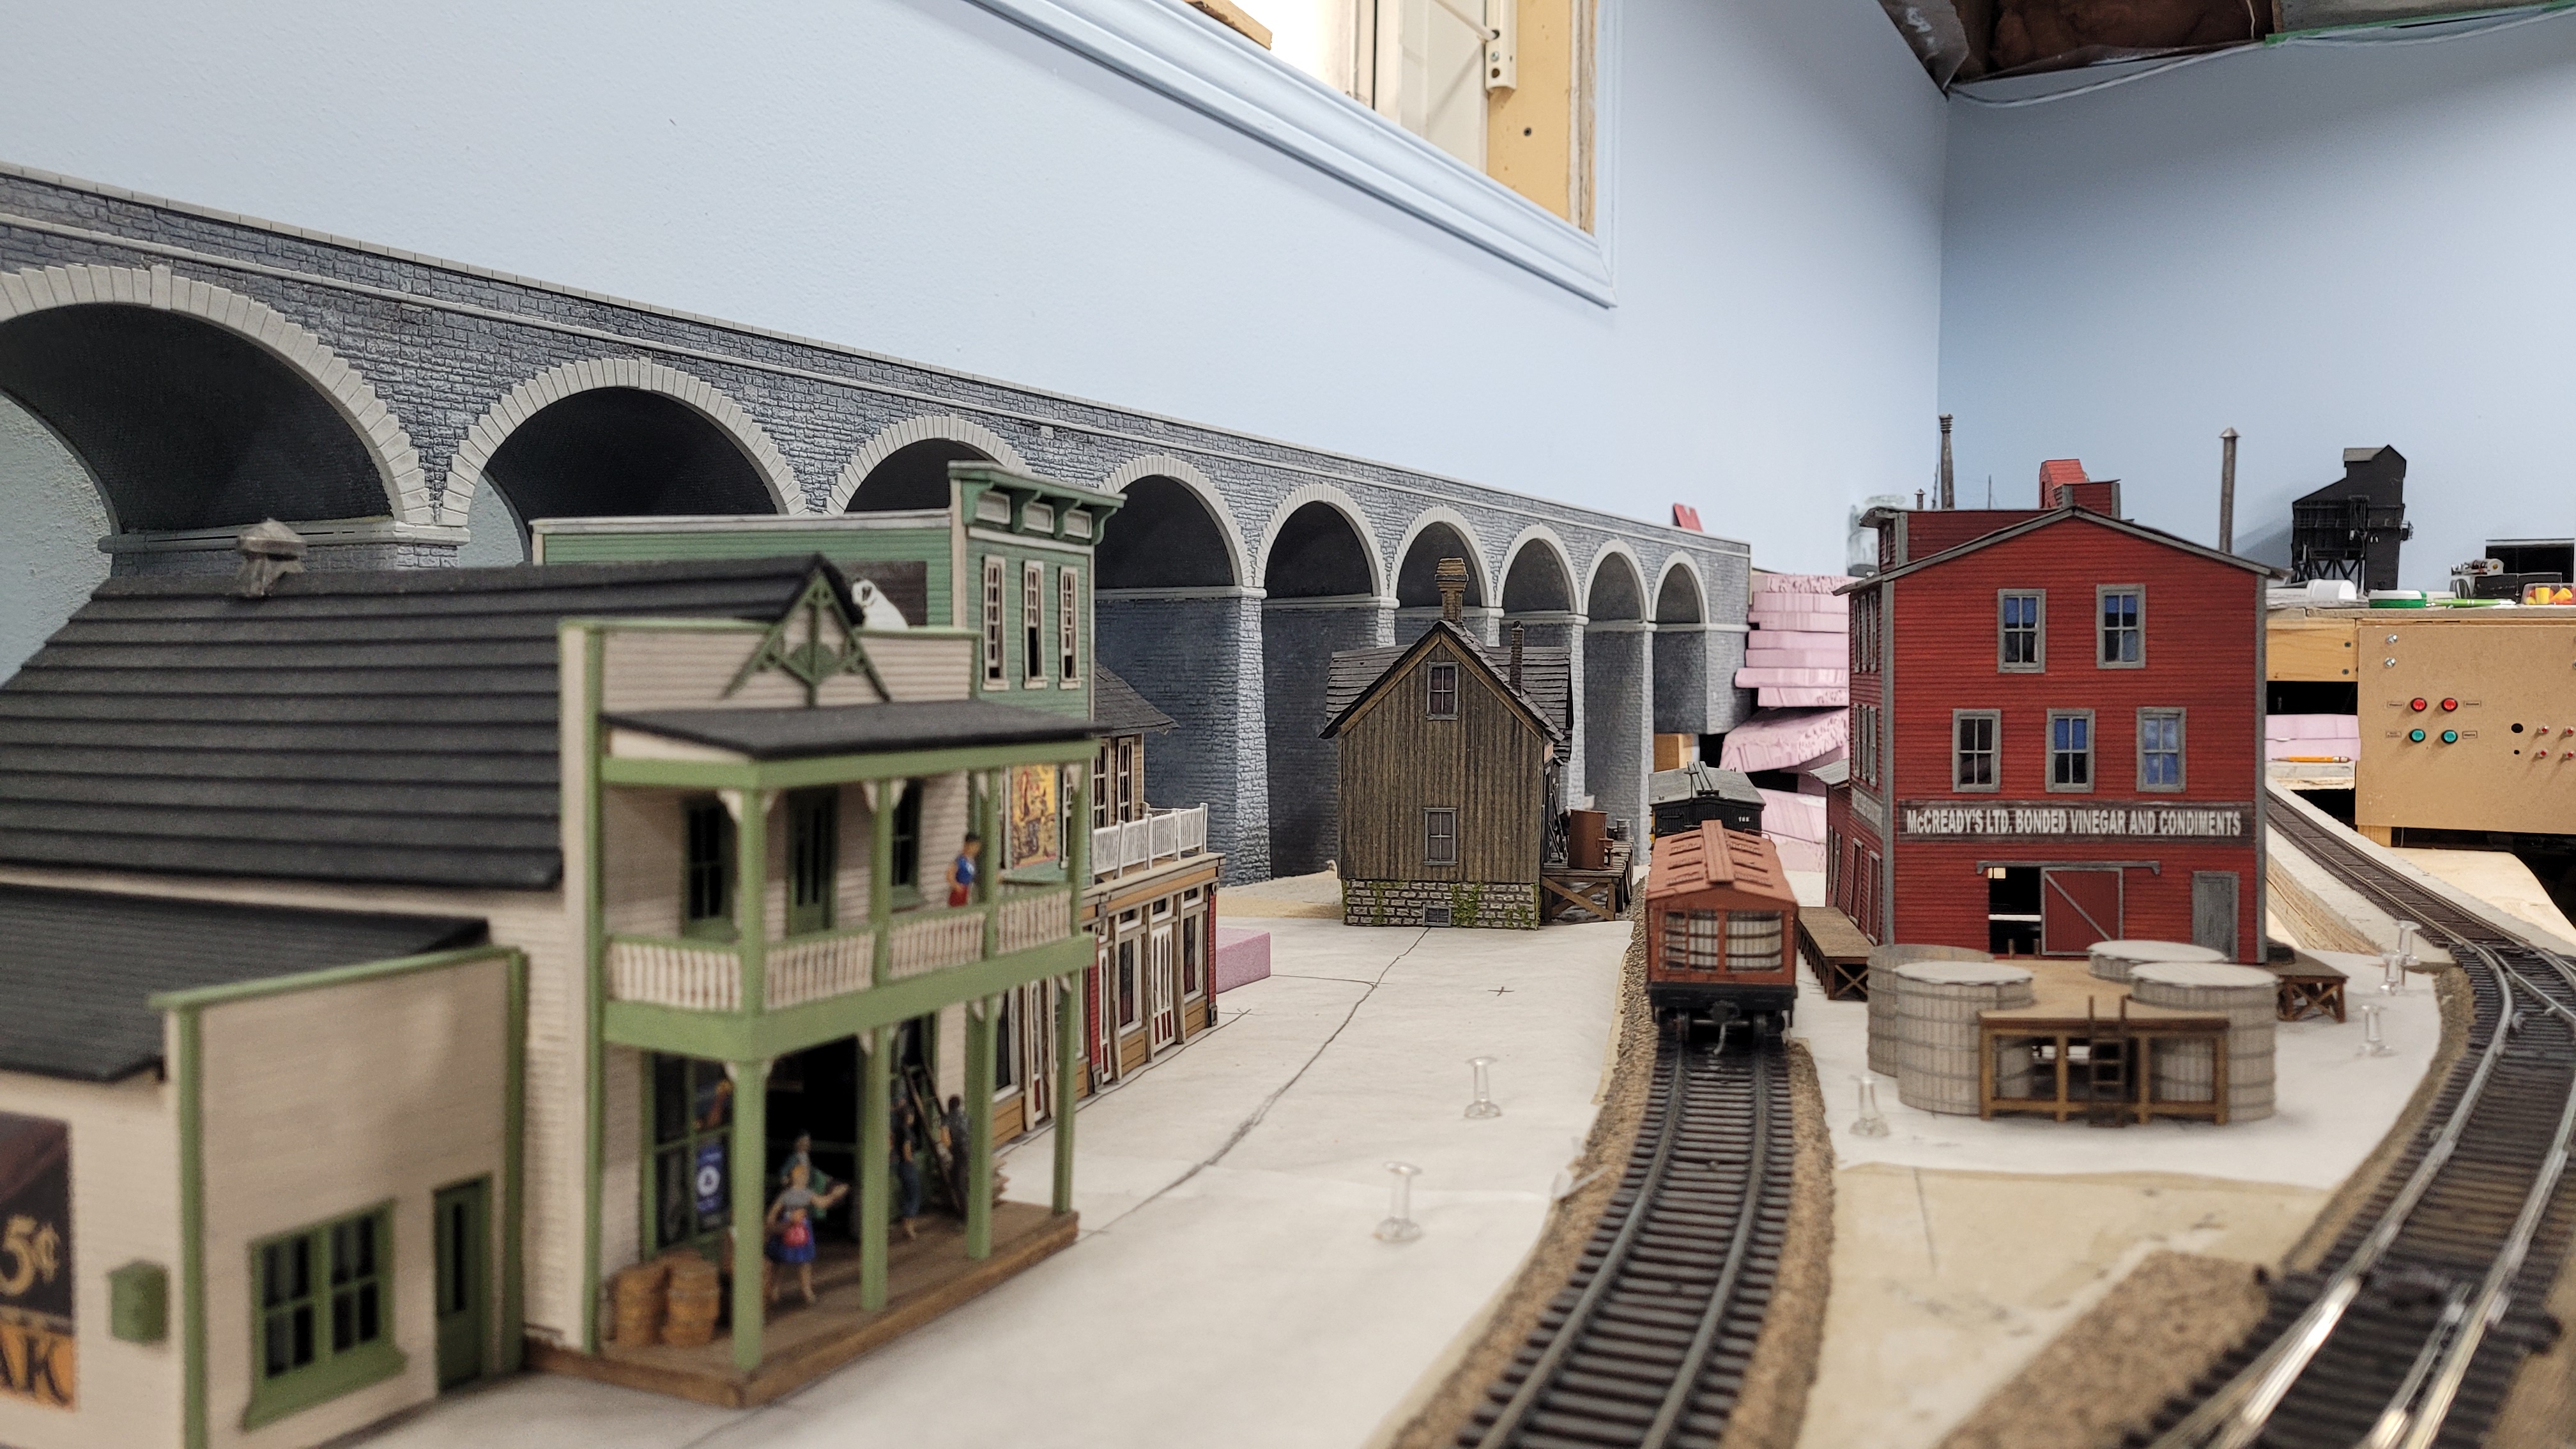
As pictured on David's developing layout.

Along with another structure currently under construction at my workbench - which you will see finished in a couple of pictures from now!

An aerial view.

There the general store as found in the distance.

Along with a British locomotive.

And sandwiched between two recently completed structures.

She's looking mighty fine!

The general store will add immensely to the flavour in the harbour town of Thornton on my friend's layout.

As for me, I'll have to take a break from my workbench...

...and head outdoors to shovel some of that white stuff!

And dream about jamming with my buddies at the farm in the summer!
Thanks for checking in on this fun build of an old relic!
All the best, Mike Hamer, Ottawa, Ontario, Canada
No comments:
Post a Comment