Fine Scale Miniatures Seafood Emporium
I have recently built George Sellios's Fine Scale Miniatures kit, the Seafood Emporium for a friend.
Many years ago I was able to visit George's amazing model railroad.
This will be a day I will always remember!

This view is under my special daylight ultra fluorescent lighting
You can enlarge the images by clicking on them and reduce them to the default look by clicking outside them.

The build took place over a two week or so period of time with many hours spent at the workbench each day...ah, retirement is glorious, isn't it?!

Those glorious yellow boxes catch the eye of this modeller.

Under incandescent lighting, the building takes on a more yellowish tone.

This building has so much character...perfect for my friend's seaside harbour scene.

I'm building the kit for retired university professor, David Gardner.

The bell tower or clock tower is a wonderful eye-catching feature of the build along with the roof top water tank and billboard sign.

The kit manual is well written.

The added cards contain extensive diagrams and information as well as templates.

The darker cardboard cards are the templates that are drawn to scale to facilitate easier modelling.

The walls with their wooden support bracing pieces and trim pieces.

Loads of awesome white metal castings!

Some signage and roofing materials.

I've brought all the white metal castings onto a cardboard sheet for examination. Very little cleaning is required.

I've taken the colour-coding advice from the manual and created my own chart with added colour. The few minutes this took saved oodles of time during the building process!

The wall sections for the main building.

Using a razor blade to lift some clapboard.

Using my "monster scribing tool" to distress the wood slightly. I run a few light passes over top the clapboard in horizontal strokes to help distress the wood before staining. I thank my friend, Ron Newby, for creating this tool for me. It has come in very handy over the years!

The walls are braced in preparation for staining.

My trusty weights placed atop the bracing overnight ensures a permanent bond.

Time to file some of the burrs off the white metal casting windows. A small file does the trick!

My initial wash of Hunterline grey weathering mix with some SAMAN "Colonial" stain begins the wall colouring process. Americana "Cocoa" acrylic paint was used on the windows and doors before a wash of black acrylic was applied once the Cocoa colour had dried.

From left to right, Hunterline Weathering Mix "Light Grey", SAMAN Furniture Stain "Colonial" and Americana acrylic paint "Cocoa".

Some nice signage and newspapers come with the kit.

You are instructed to leave a narrow white border around the black-backed sign. This allows it to stand out from the walls nicely.

While the cornice casting is simply resting atop the wall for the sake of this image, I gave it a series of washes with the Cocoa acrylic followed by "Patina" green and then another wash of black acrylic.

The side wall is spartan at the moment but the lower half section will be obscured by a maintenance shed.

I did not take an image of the burnishing tool I use to "settle" the signs into the clapboard so I insert this image from another build I worked on recently simply to showcase the tool.

I paint the interior (and later the bracing) black. The initial application was more of a wash as my black paint was running out...I later purchased another plastic jar of black and it looked far neater.

My weights help hold things together...I will add weights atop to continue to prevent any warping of the walls as the black paint settles.

Instruction tell us to bevel the top of the side walls to accommodate the sloped roof.

The brown doors with a black wash to "pop" the details. Not the trim added around.

It's coming along. I added streaks to make the sign appear slightly older and weathered. I still have to tuck the lower section down into the clapboard.

The sailfish is a lovely "added touch" to the front elevation of the building.

I am experimenting with colours to match images I found on the internet. This is not quite the finished look but it's getting there!

I added another wash of black acrylic over top all the wall sections to get the look I was after. The wash even ran atop the signs. You can note the difference at the left where I was yet to apply the wash.

I painted the awning a burgundy colour.

The awning came from the cardboard template which you cut out and folded. Their application to the wall was a very simple process.

My squares ensure the walls are squared up nicely.

The other end wall has an electrical meter.

When I glue rectangular building sections together I always start by creating two separate right angled joints of a long wall and an end wall. I let the corner joint dry overnight before bringing the two sections together to fill out the rectangle.

The underneath of the flat roof requires bracing...

...and here you see it glued in place.

Looking down over top the main structure.

Note the elastic bands holding everything together...once again, overnight.

Time to build the roof access shed that will sit atop the flat roof.

The shed is a simply block of wood around which you glue the walls, door and roof.

Time to work on the roof supports.

These exposed roof trusses are often times used in older buildings to hold up the floors and ceilings below.

Now in place!

Under incandescent lighting once again. Note the safe green blinds. I simply took a strip of paper and painted it an acrylic sage green colour. You can choose any colour you wish!

Under the Daylight Ultra fluorescent lighting. You can see the cornice is now glued in place and the main building is slowly taking shape.

There were two vents that were meant to go between two windows on the front of the structure. I felt they better fit on the spartan end wall where piping would more likely reach outdoors. You can see the two little pipes on the inside of the end wall.

The rooftop still requires tons of added details at this point in time including a cap for the other three wall sections. This will all come in time.

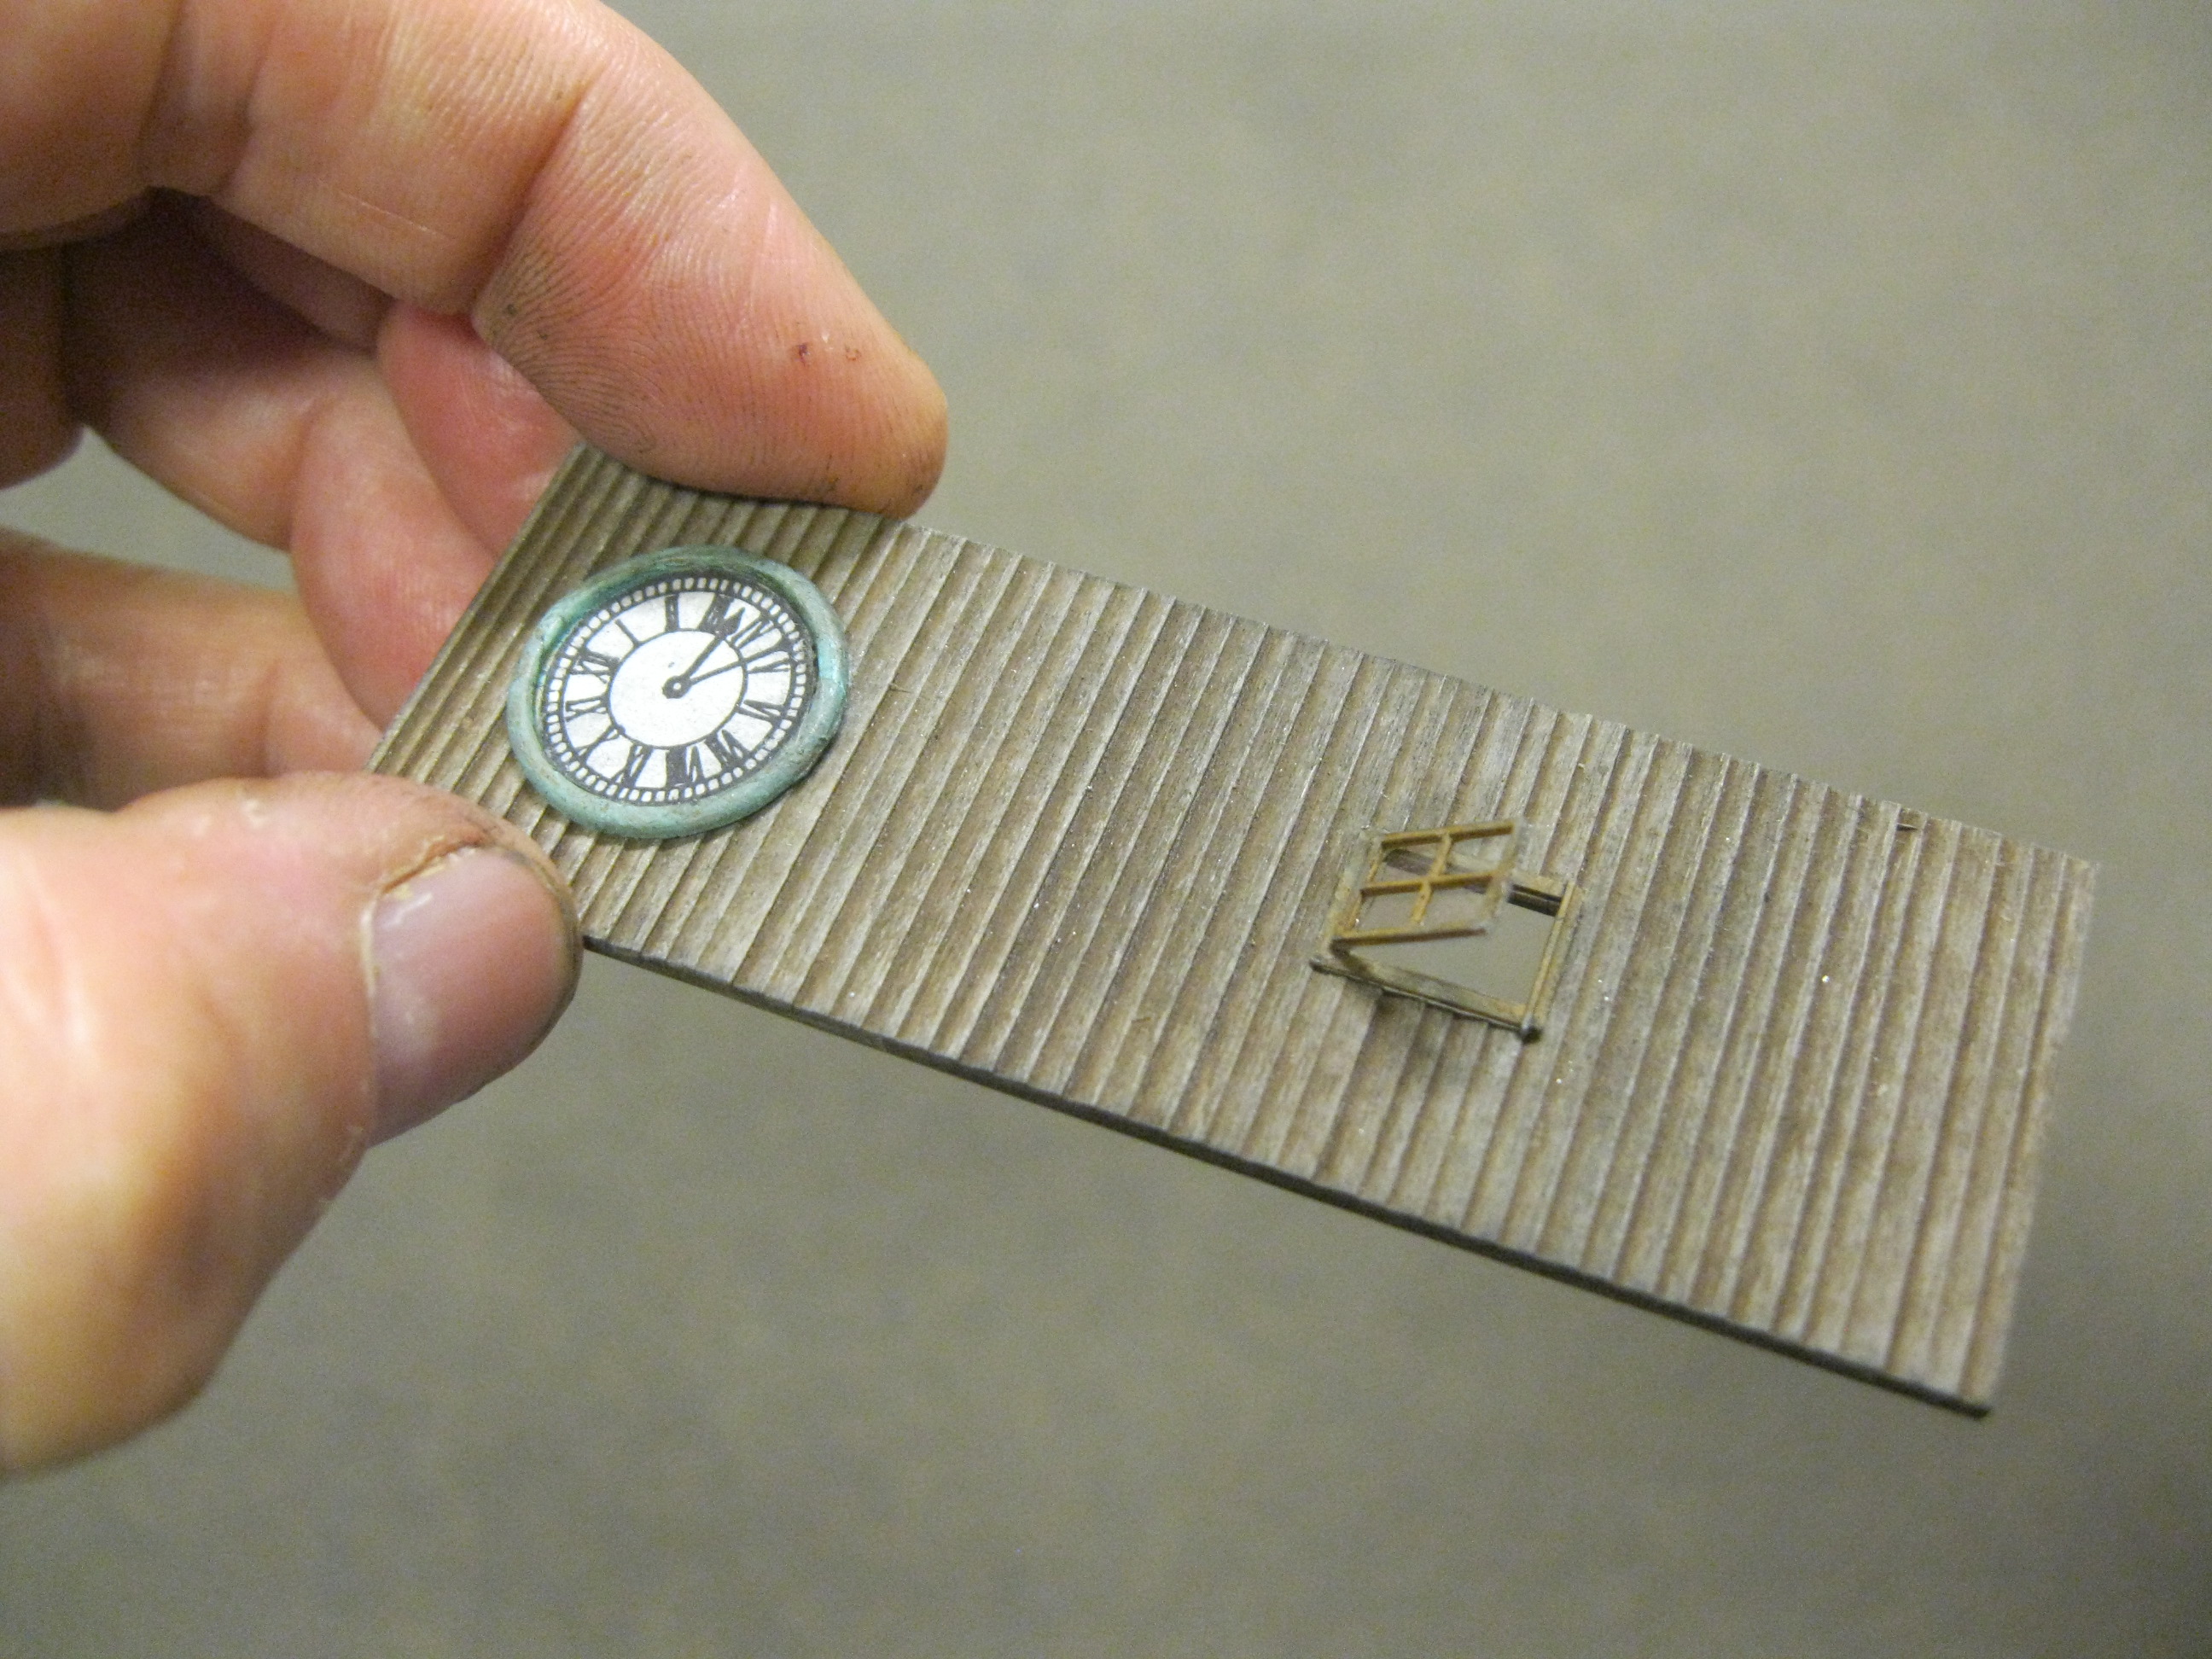
Speaking of time...I have painted the clock discs an acrylic "Patina" colour and weathered them somewhat.

The cards offer up four clock faces all telling the same time...of course!

The bracing instructions.

Clock faces are now in.

My weights ensure the bracing remains where it is supposed to be.
An open window is added in the side of the shorter wall section which will see an elevator door add to its height at the base of the section.

Note the elevator door down below.

More roof details have found a home and you can see the wall section for the enclosed stairwell leaning against the front wall abutting the clock tower.

The clock faces add so much to the appearance of the build...

...as does the decorative sailfish...

...along with the cornice and the canopies.

Time to take on the front loading ramp.

I particularly enjoy the explicit instructions.

The frame is complete.

My weights hold things together as the frame is glued to the front wall.

The vertical boards go in. I stained them beforehand using furniture stains and a wash of black acrylic paint.

My square ensures the boards are placed perpendicular to the ground.

Here I am building out the framing for the enclosed stairwell adding additional lengths of wood that will be glued to the front wall.

A look from the front.

Adding the sign with my burnishing tool.

I sanded the sign slightly beforehand to age it. I also ran a very thin wash overtop to allow the clapboard to "pop".

Looking good!

Again. the weight offer pressure while the glue sets seeing as I have now attached the enclosed stairwell to the front wall.

The enclosed stairwell is tucked in against the tower and the front wall.

Nice!

The roof goes in next.

I simply cut a few lengths of the labelled paper and painted the strips black.

Then I weathered them with some grey PanPastels.

The base for the bell is now in place atop the tower.

In goes the bell.

A closer look.

I used Testors copper and brass for the colours.

The supports and base for the roof of the tower are now in place.

The railings are added as well.

The four-sided roof cardboard template.

You simply score along the lines and fold, then add your shingle strips.

This process didn't take any time at all. The excess shingle strips were simply trimmed with scissors and later a cap ran down where the roof sections meet.

Ensuring the roof is squared up.

The roof is in place.

The angled roof near and over top the office will be covered with corrugated metal strips, but George has offered up some shingles to show in areas where the metal strips have fallen off...for character.

A closer examination of the roof with finial before painting and weathering.
 \
\The clock tower/bell tower roof is now painted and weathered with the same acrylic "Cocoa" colour I had used on the doors and windows.

Still much to do and many other building sections to add on...but I'm liking the appearance!

Time to attack the angled roof.

The carboard template is in place.

The initial corrugated strips unpainted and not coloured as of yet.

My weathering powders will assist here.

First I painted the corrugated sections a light grey acrylic colour.

Then I applied the various tones of weathering powders.

Here's the look with the shingles now in place and painted and weathered.

Here's the look with the corrugated panels over top the exposed shingles.

Now it's on to the elevated office on the left side of the structure.

The four walls are built up and trimmed.

Supports to hold the office up high are created using the templates and another metal weight assists in holding the section to the main wall as the glue sets. Note the other metal weight helping out at the far end of the building.

The following day, the office is able to stand alone.

It's now over to the maintenance shed at the far right side of the structure. The printed walls allow for ease in aligning the shingles.

Job done in no time at all.

While the shingles have adhesive that required wetting before applying, I add some glue in there as well.

Creating the interior framework for the maintenance shed. Narrow strips of masking tape help to keep everything in line.

The three distinct sections are now complete.

I can easily hold them in my hands without them falling apart.

They look good with the black backing which simulates tarpaper.

Note how the wood does not meet up at the joint.

They will meet up once the "fold" is made!

I'm liking this.

Roofing is in and I create a hole to accommodate the exhaust pipe.

It is on the right side wall where the maintenance shed will go.

The door and step is in place.

The shed has been build with clerestory and stack added on the roof. Supports for the stack will go in later.

Again...my metal weights ensure all additional building sections stay in place while the glue sets.

A look at the left side of the structure.

The office is now supported as seen earlier.

And...a look at the right side of the structure.

The template for the walls for the guard shed.

It is the same process of adding the shingling accounting for the windows and doors.

Getting there!


Bracing added accounting for interior corners to mate with each other for glueing.

Squares and elastic bands ensure 90 degree corners!

I decide to tackle the large billboard sign which hovers above the scene. The template assists in placement of the wooden supports.

My square ensures the main supports are lined up properly.

You can build directly upon the cardboard template.

George has put together a marvelous set of instructions and templates.

A nice burgundy colour will complement the awnings on the structure.

The angled roof holds a water tower. You were supposed to attach the supporting bands with the tower section still on the flat but I chose to attach the tower to its supports before doing so. I simply rolled the tower along the template and pencil marked where the bands would go. I had forgotten to snap pictures of the tower building process.

I brought the structure out to a recent OVAR meeting (Ottawa Valley Associated Railroaders) and it was very well received.

There was still a bit more work to be done such as the guide wires for the stack on the right.

The bands are now in on the water tower with the turnbuckles.

There was a template to make ladders in the kit, but I already had these "ready made" ones from Osborne Models.

I would simply use one of these ladders for the water tower.
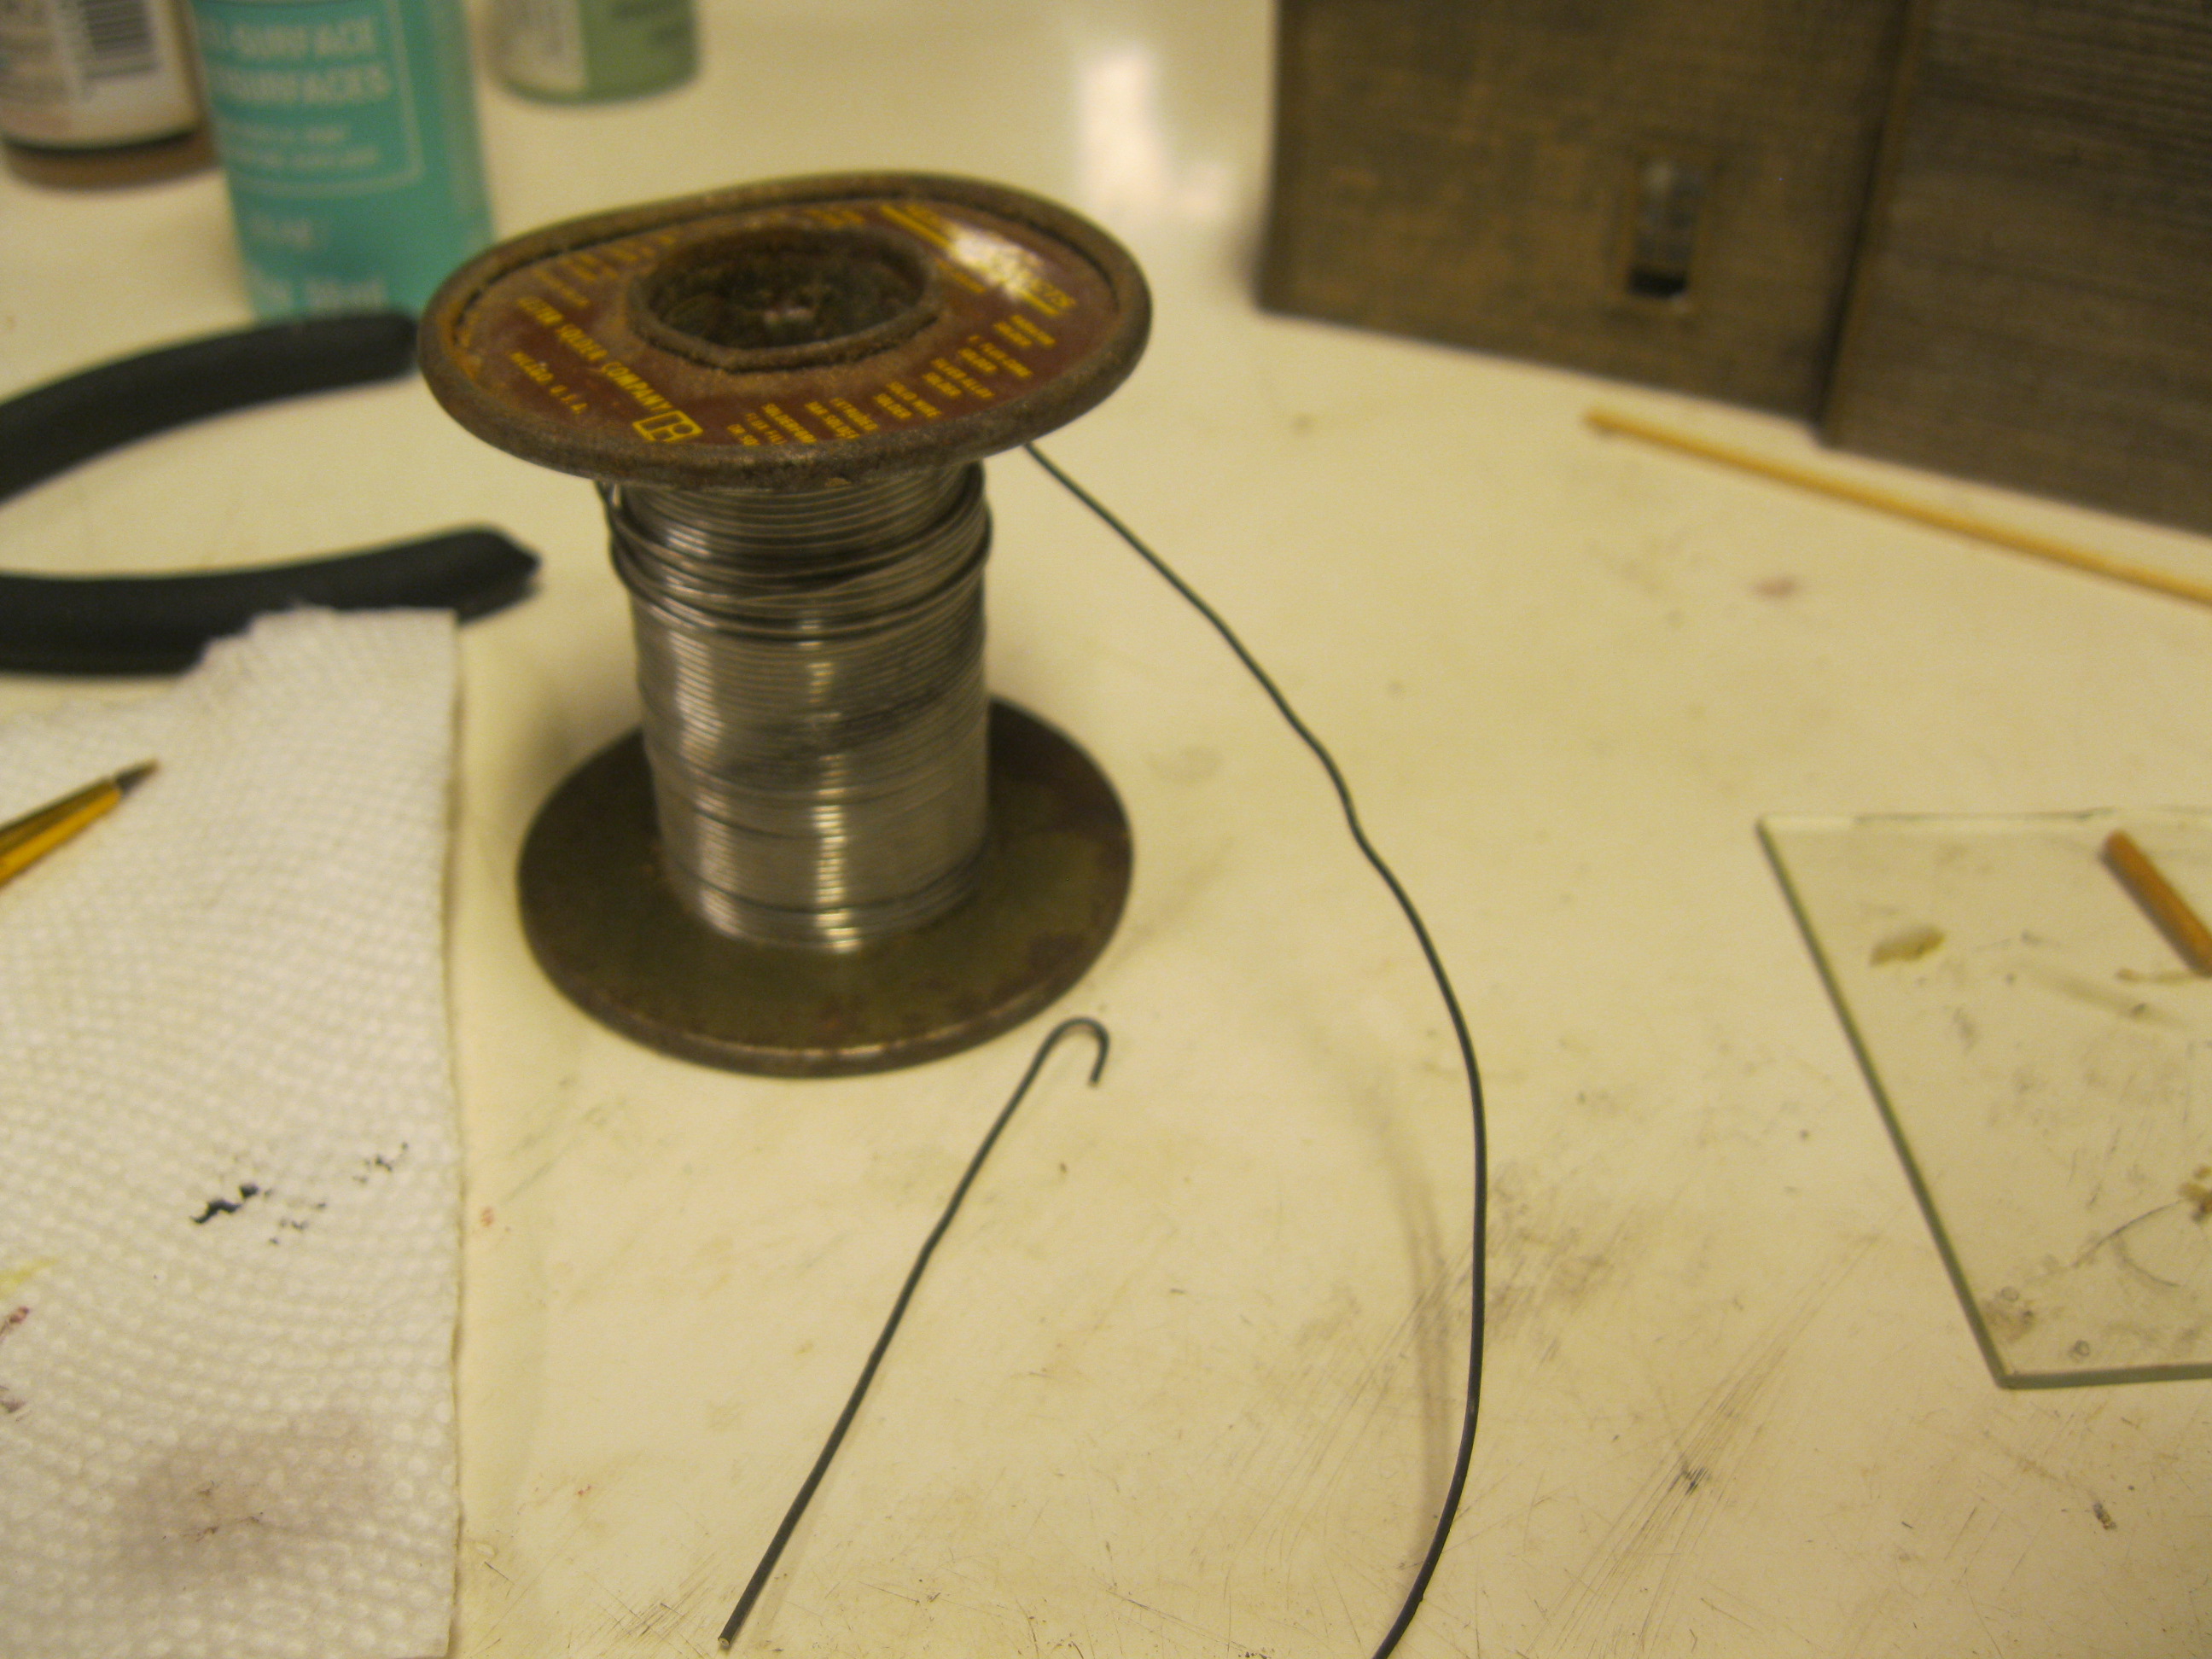
A length of wire came in the kit for piping, but it preferred to use solder which is much more easy to bend...simple in fact!

The ladder and piping are now on the water tower and that stack on the far right now has wire supports.

The staircase is now in on the loading dock with a quick slab of concrete...which will be replaced when the structure is planted on David's layout.

Chimneys are in on the two roof sections.

The exhaust stack supports are plain to see in this image.

The guard is peering out from the open window and a mailbox is in place on the long, narrow guard shed.

Looking good!

David also asked me to build the Foscale "Department of Docks" and I knew that it also had a clock tower. My biggest worry was that the time on the clocks of the two kits would be vastly different even though they would be residing in the same harbour on David's layout. Alas...no fear...the Foscale kit offered the option of creating your own time with tiny laser-cut clock minute and hour hands. So...the time remains forever 3:24 in the afternoon on David's model railroad!

I still have to finish off the Foscale roof.

But these two structures will go "hand in hand" in a wonderful setting.

Ah...that's better! The Foscale kit is now complete!

It has an elegant clock tower...

...to go along with a roof of many peaks!

Thank you for checking in on my build.

I would recommend a Fine Scale Miniatures kit any time at all.

It was a joy constructing this amazing kit offering from George Sellios.
The Seafood Emporium from Fine Scale Miniatures will live on in its wonderful harbour setting still waiting to be built up here in our nation's capital.
All the best, Mike Hamer, Ottawa, Ontario, Canada
No comments:
Post a Comment